Listening To Music Offline With Google Drive

Do you need to transfer text/music/pictures from your desktop/laptop PC to your iPhone? Do you need these files available to look/listen to even when your iPhone can’t get a signal?

I frequently need to transfer audio files/music from my laptop and listen to them on my iPhone, even in areas that don’t have cell reception. Fortunately, Google Drive offers the ability to mark files as available offline – to download the files to the iPhone’s local memory so they’re available at all times.

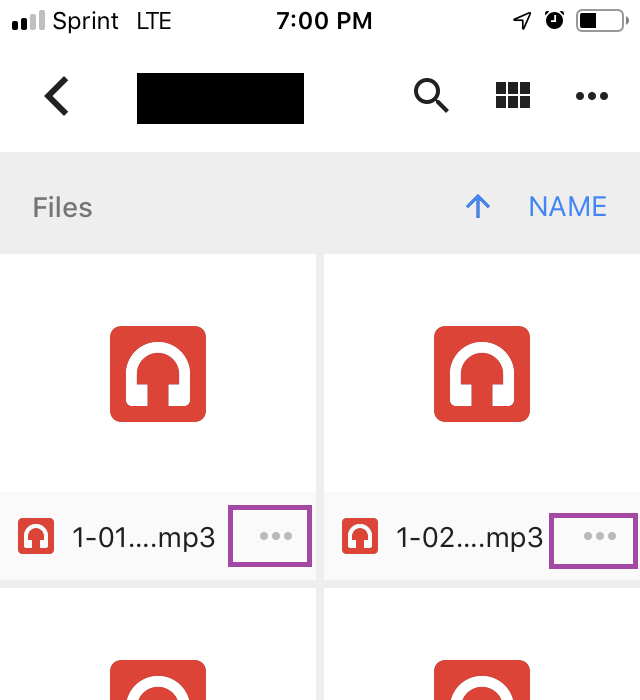
To do this, first use your PC to upload files to Google Drive. Then on the iPhone, open up the Google Drive app, find the audio file, and click on the three period symbol (inside the purple box) below:

Google Drive iOS app. Click on the three dot symbol.

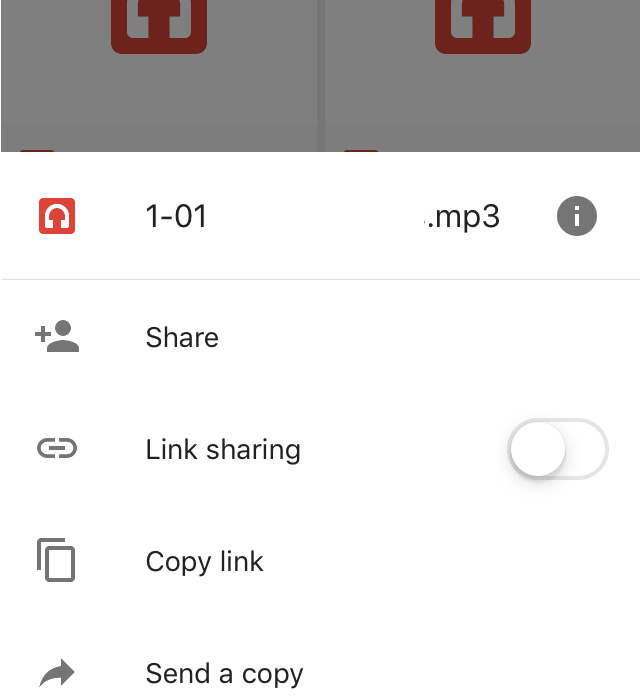
A context menu will pop up below:

Google Drive file context menu.

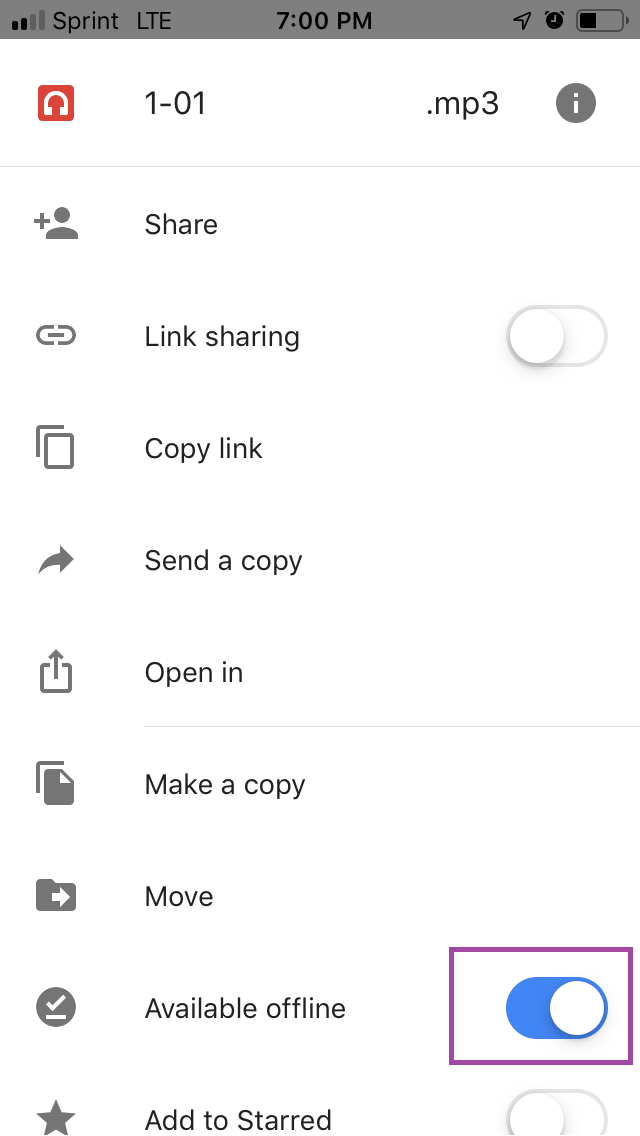
Use your finger to pull the menu up (towards the top of your phone). You’ll see the full menu. Where it says Available Offline, pull the switch to the right until you see blue.

Use the available offline switch to mark the file as available at all times.

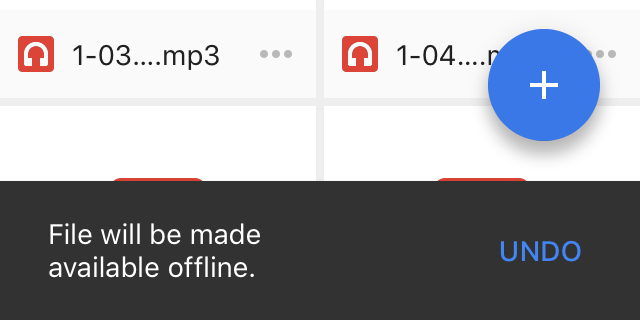
You’re done! A prompt should show up, where Drive acknowledges the offline request:

The notice that pops up when the file will be available offline.

To make sure the file is fully downloaded, leave the Google Drive app open a moment before you close it out.

DisallowedHost – Invalid HTTP_HOST Header “example.appspot.com”

When installing a new Django app on App Engine, I forgot to set the hosts header, and found this error:


The problem here is that I didn’t set the allowed hosts header in the settings file. To fix this, go to settings.py file and set ALLOWED_HOSTS to list a wildcard, like so:

ALLOWED_HOSTS = ['*']

You can see this replicated in Google’s own Django example: https://github.com/GoogleCloudPlatform/python-docs-samples/blob/master/appengine/standard/django/mysite/settings.py#L46 (see screenshot below).

A screenshot of allowed_hosts including a wildcard.

Warning: A wildcard is only acceptable because App Engine’s other security policies are protecting the application. If you move the Django site to another host, make sure you change out the wildcard to the appropriate domain/domains.

Amazon Cloud9 IDE Python 3

I spent today morning pulling my hair out trying to get a Python 3 application running within AWS’ Cloud9 IDE. Essentially the problem is that if you pip install some-package, that package only becomes available within the Python 2 runner, not within the Python 3 runner (the current Cloud9 machine image includes Python 2 aliased as python, and Python 3 available through python3).

Fortunately for me, someone else had the same problem, and an Amazon staffer suggests creating a virtual environment: https://forums.aws.amazon.com/thread.jspa?messageID=822214&tstart=0 . I followed the steps mentioned, but it didn’t work – pip still installed dependencies for Python 2. I wonder if this staffer forgot to mention another step, such as remapping the pip command to a Python 3 install.

What finally did work was calling the pip command through the python3 interpreter, like so:

First, ensure pip is installed:

python3 -m ensurepip --default-pip    

Then upgrade pip:

python3 -m pip install --upgrade pip setuptools wheel

Then you can install any requirements of your app, such as BeautifulSoup:

sudo python3 -m pip install --upgrade bs4

And after all that, my Python 3 app was able to access the BeautifulSoup dependency.

Redirecting From Tumblr To WordPress

I’ve been setting up redirects from my old Tumblr blog to WordPress; here is documentation how I handled it.

Netlify offers static web page hosting, and more importantly, supports redirects and rewrites. It can deploy a static web site from a git repository, or by uploading a folder from your local computer. What I did was set up a git repo with a file named “_redirects” (no quotation marks) and connected it with a Netlify deployment; instructions to do this are available here: https://www.netlify.com/docs/continuous-deployment .

The redirects file should look like this:

/                                https://www.learngoogle.com/                            301
/tagged/*                        https://www.learngoogle.com/tag/:splat                            301
/post/49459687975/*              https://www.learngoogle.com/2013/05/02/test/                            301

This works by:

  1. Mapping the root to forward to learngoogle.com
  2. Remaps Tumblr tags, which would look like “/tagged/exampletag” to “learngoogle.com/tag/exampletag” – the :splat is replaced with any text after /tagged/
  3. Remaps a test post to the real location.

Obviously, all of these redirects are 301 Moved Permanently links. You’ll also need to remap your old domain to point to the Netlify deployment target: https://www.netlify.com/docs/custom-domains/ .